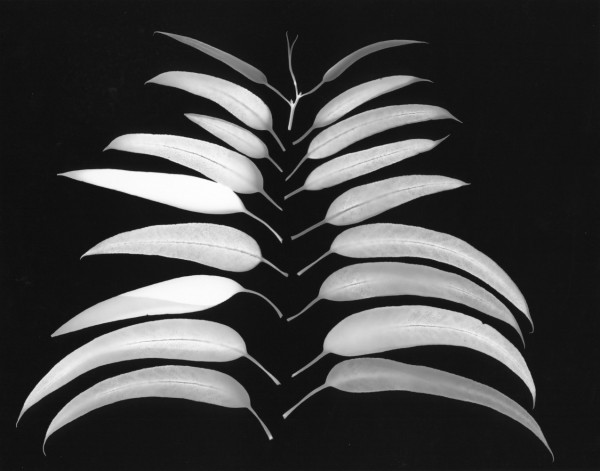
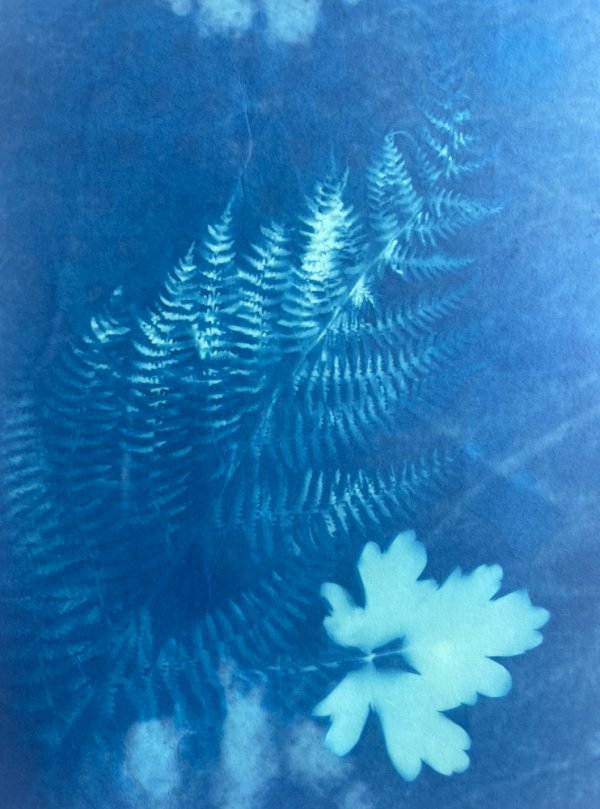
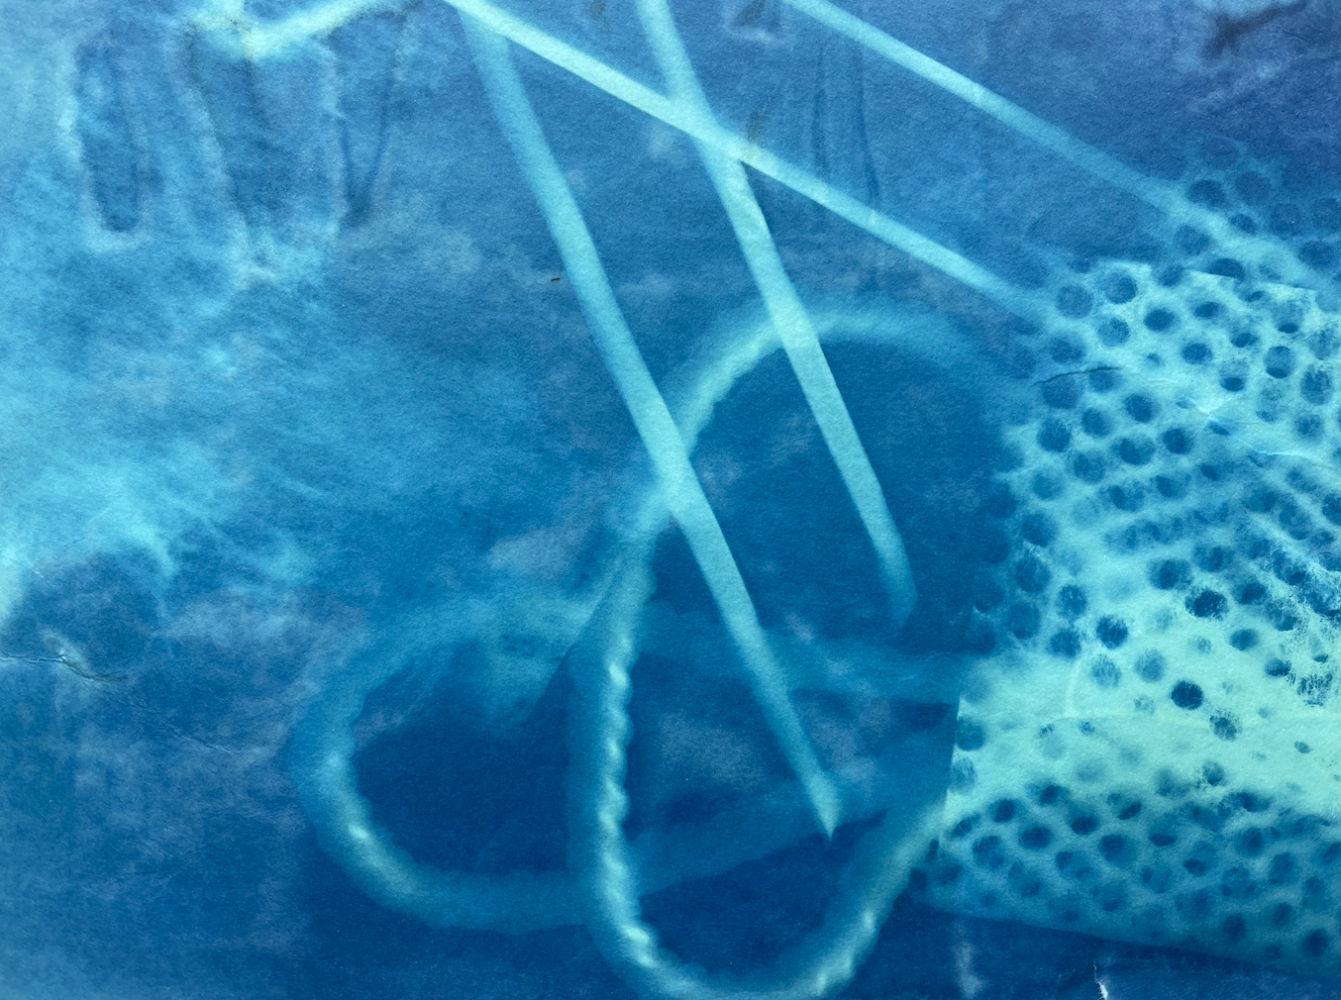
SPACES Founder Seymour Rosen experimented with photographic processes through the creation of photograms. Photograms are an exposed image without the use of a camera. Items, rather than a negative, are placed on photo-sensitive paper, exposed to light, and their silhouettes remain unexposed. Where light is blocked, chemicals remain unreacted and wash away with water. While Rosen made photograms in his darkroom, the SPACES and Kohler Foundation staff made cyanotypes, a different type of photogram that uses the sun.
Cyanotypes, invented in 1842 by Sir John Hershel were originally used as an early method of reproduction – like a blueprint! British naturalist Anna Atkins took the process out of the business realm and into a more artistic one by using it to create photograms of plants, rather than creating sketches of the plants she observed.
Take a look at more of Seymour’s Nature photograms to see what inspired us to give this a try!
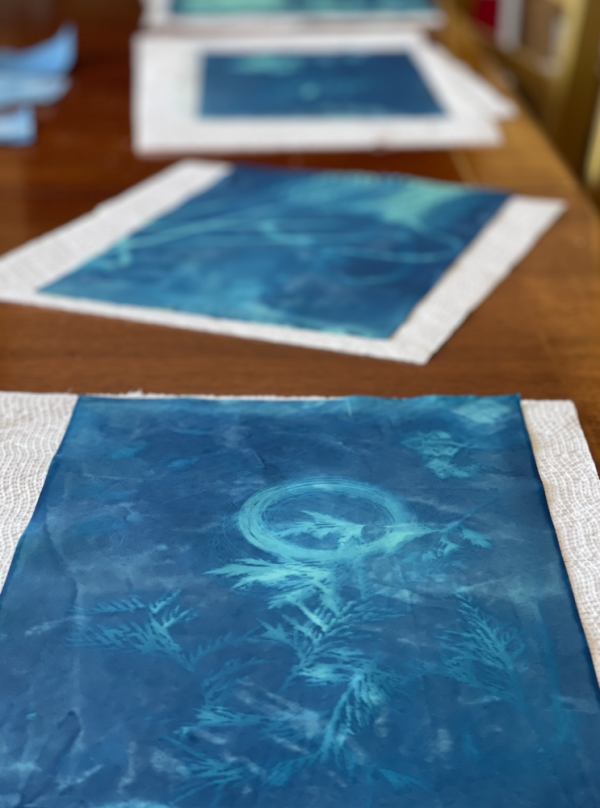
How to make your own photograms!
Step 1 – What you need
- Sunprint paper
- acrylic sheet (or something to flatten your objects, like a piece of glass)
- cardboard
- a tub full of water
- fun and interesting objects to print
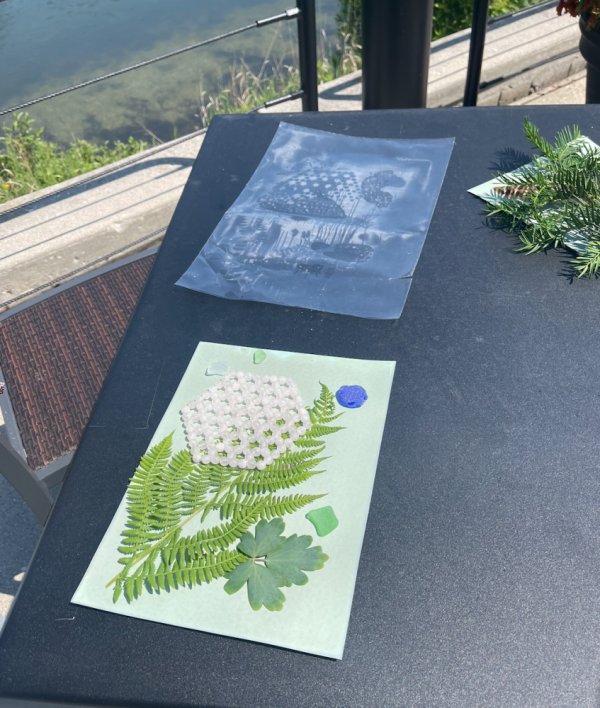
Step 2 – Arrange your objects on a piece of Sunprint paper away from the sun.
The blue molecules embedded in the paper are sensitive to ultra-violet light. Direct sunlight will expose the paper quickly, but even ambient light in the shade, or in a room with a big window will cause slow exposure of the paper.
Step 3 – Place the acrylic pressing sheet on top to flatten your items
Flatten your objects with a piece of plexiglass or glass to create sharp edges. Ambient light will find its way underneath the edges of your objects if they are not pressed firmly to the paper, and you will get prints with blended contrasts.
Step 4 – Expose your paper to sunlight.
The areas of the paper exposed to the sun will fade from blue to white. When you see most of the color disappear from the paper, your print has been fully exposed. Under cloud cover, the process will take 5-20 minutes depending on the thickness of the clouds.
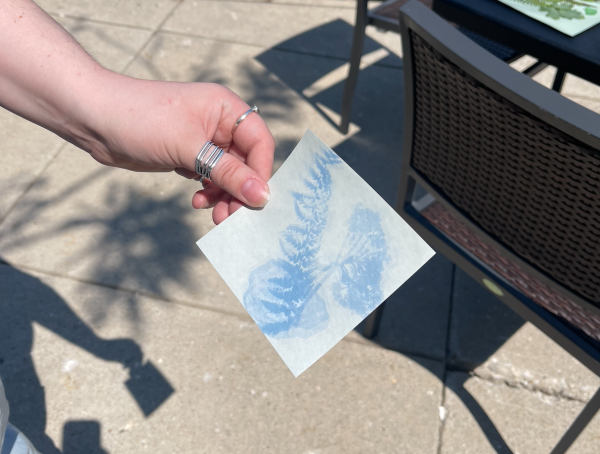
Step 5 – Rinse your Sunprint paper in water. Watch the white turn into blue and the blue turn into white.
To get the deepest blue that the paper can give, leave it in the water for a while: 1-5 minutes.
Resources:
Get Sunprint supplies and learn more about the process: https://www.sunprints.org/
Youtube video explaining history of Cyanotypes:
https://www.youtube.com/watch?v=3s0hiBi5c4Y
Contemporary Cyanotype Artists:
Meghann Ripenhoff: http://meghannriepenhoff.com/project/littoral-drift/
Angela Johnson: https://angelajohnsonartist.com/


Post your comment
Comments
No one has commented on this page yet.